Self Hosted (part 3) : Web GUI
Intro
RHEL uses web GUI called Cockpit to manager and administer servers. Cockpit is sponsered by Red Hat. Official and third party plugins/applications can be installed to add additional features.
Enable cockpit
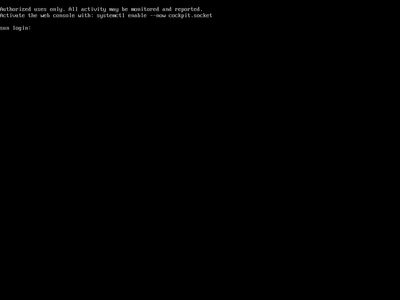
After install, the shell will show a message to enable Cockpit. Login in as root and run the command shown
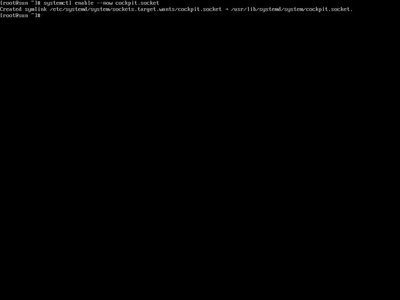
systemctl enable --now cockpit.socketCockpit is already installed so enabling it will just create a symbolic link.
Access cockpit
By default Cockpit is enabled on port 9090. Access cockpit at <IP Address>:9090 or hostname.domain:9090 where domain is internal network domain, usually local or domain set on the firewall/router.
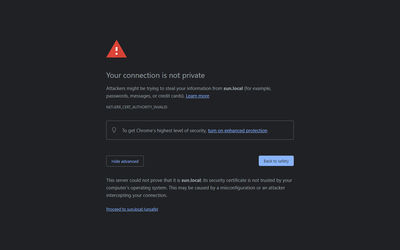
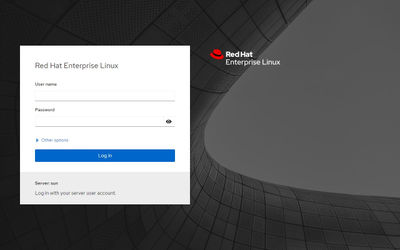
The browser will show ‘connection not private’ message because cockpit is using self-signed certificate. Ignore the message for now and continue. Login with the root or an administrator user.
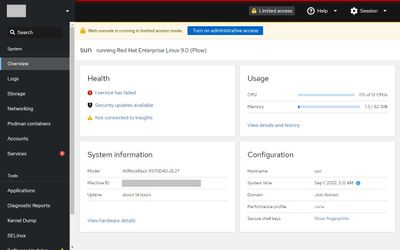
Logging in will show the overview page which shows system information and health. If the account used to sign in is not root, then Cockpit will show a message to turn on ‘administrative access’ which is required for some applications.
To navigate use the menu at the left side or use the URL of the resource, like <IP Address>:9090/system to go to the overview page
Fixing health issues
Check subscription status
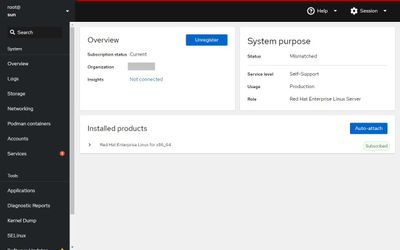
Go to subscriptions (/subscriptions). If a valid subscription is attached it will show the details of the subscription otherwise it will ask to register and attach a subscription.
Update software
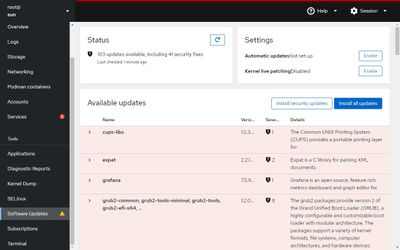
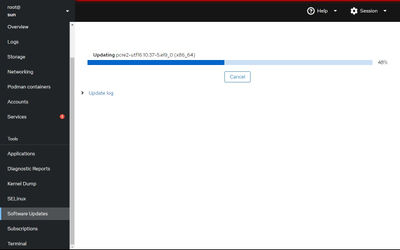
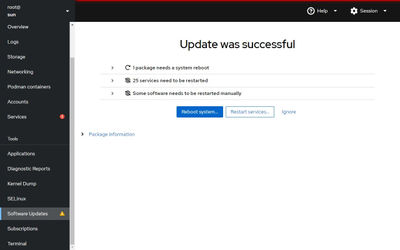
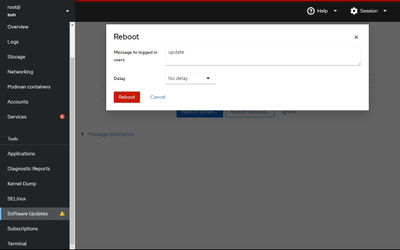
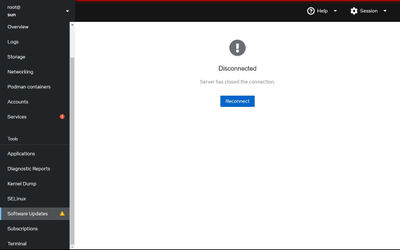
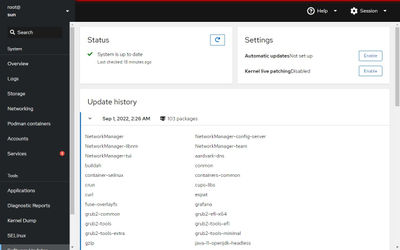
Go to Software Updates (/updates). Hit ‘Install all updates’ to install everything and ‘Install security updates’ to only install security updates. Can also enable automatic updates and kernel live patching. I have them disabled so I can choose when to install updates and check if the zfs kmods are working (more on this in later posts). Some updates might need system reboot, which can be done from the message shown. Cockpit will disconnect while rebooting and can be reconnected using the button shown in the message and logging in again. Once the the updates are done and the system is rebooted, ‘system is up to date’ will be shown under status.
Failed services
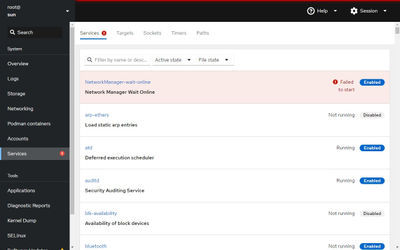
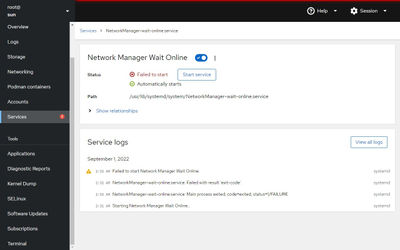
Go to Services (/system/services). This page will show failed services at the top of the service list. Click on the failed service to get more detail.
I will do a more detailed post on how to debug failed services, but for now we will just fix the issue. The issue in the screenshot above is Network Manager Wait Online service timing out. I have disabled the BMC from sharing the ethernet from the operating system and it should not connect automatically.
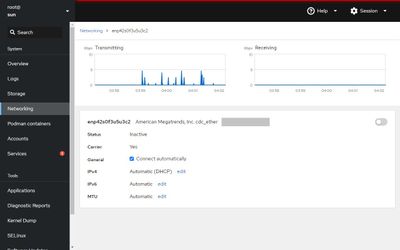
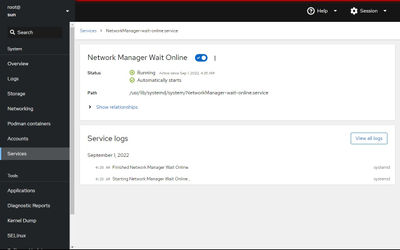
Go to Networking (/network). Click on the BMC interface and it has ‘Connect Automatically’ checked. Uncheck ‘Connect Automatically’ and restart the service or reboot the server. The service should not time out anymore and the service failed error should disappear.
Since we don’t use Red Hat Insights, with the exception of Red Hat Insights warning, the overview page should show everything as healthy.
Thank you for reading. Check out the other parts in the series below.
