Blog Setup (part 3) : Cloudflare Pages
Prerequisites
Create an account on Cloudflare (https://www.cloudflare.com/).
Register a domain name and optionally set nameservers to cloudflare.
Cloudflare Pages
Create a project
Sign into Cloudflare. Go to Pages > Create a project.
Connect GitHub repository
Click Connect GitHub.
Now we will be redirected to GitHub to give access to Cloudflare.
Under Install & Authorize Cloudflare Pages select user/organization.
Only select repositories > project repository.
Click Install & Authorize.
Now we will be redirected back to Cloudflare.
Select the repository we just authorized.
Click Begin Setup.
Build Settings
Add a project name. A subdomain name will be generated using this name for pages.dev domain.
Select main for production branch.
Select Hugo for framework.
Build command and Build output directory will be auto filled to hugo and public respectively.
Expand environment variables and add two environment variables:HUGO_VERSION = 0.92.2 (same version used for development)HUGO_ENV = production
Click Save and Deploy.
Cloudflare pages will download the repo and start a build. Once it finishes, it will give us a pages.dev link to test the build.
Now anytime a commit is made to main branch Cloudflare pages will pull the latest files and automatically build the project.
Additionally for any merge request to main branch, it will also do a preview build so we can test it before using in production.
Add custom domain
Cloudflare dashboard > Pages > project-name > Custom domains > Set up a custom domain
Enter domain like blog.missingdirective.com and click Continue.
If DNS for the site is hosted on Cloudflare, the DNS record will be automatically added.
Click Activate domain.
Redirect pages.dev
By default, people can view the website on project-name.pages.dev. To disable it add a redirect rule to redirect it to the custom domain.
Cloudflare dashboard > Manage Account > Configurations > Lists > Create new list
Add list name (eg. bulk-redirect-list) and list description (eg. bulk redirect list).
Set Content type to Redirect.
Click Create.
Add item to list:
Source:
project-name.pages.dev
Target:https://blog.missingdirective.com
Status:301
Edit parameters: Check “Preserve query string”, “Subpath matching”, and “Preserve path suffix”
Cloudflare dashboard > Bulk Redirects > Create Bulk Redirects
Enter rule name (eg. blog-redirect-rule)
Select a list > select the list created above (eg. bulk-redirect-list)
Click Save and Deploy
Block public access to preview builds
Cloudflare dashboard > Pages > project-name > Settings > General > Access Policy
Click Enable access policy
This will auto create a rule in Cloudflare Zero Trust.
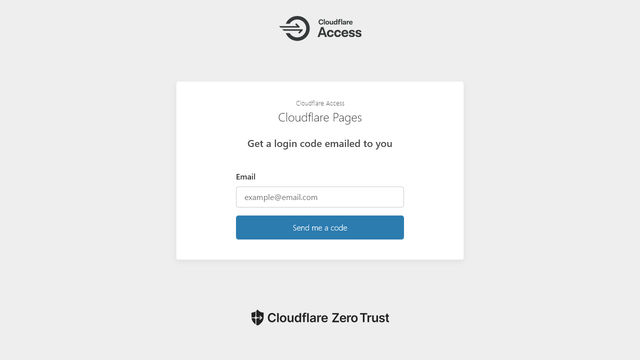
Now only authorized uses can visit preview builds.
